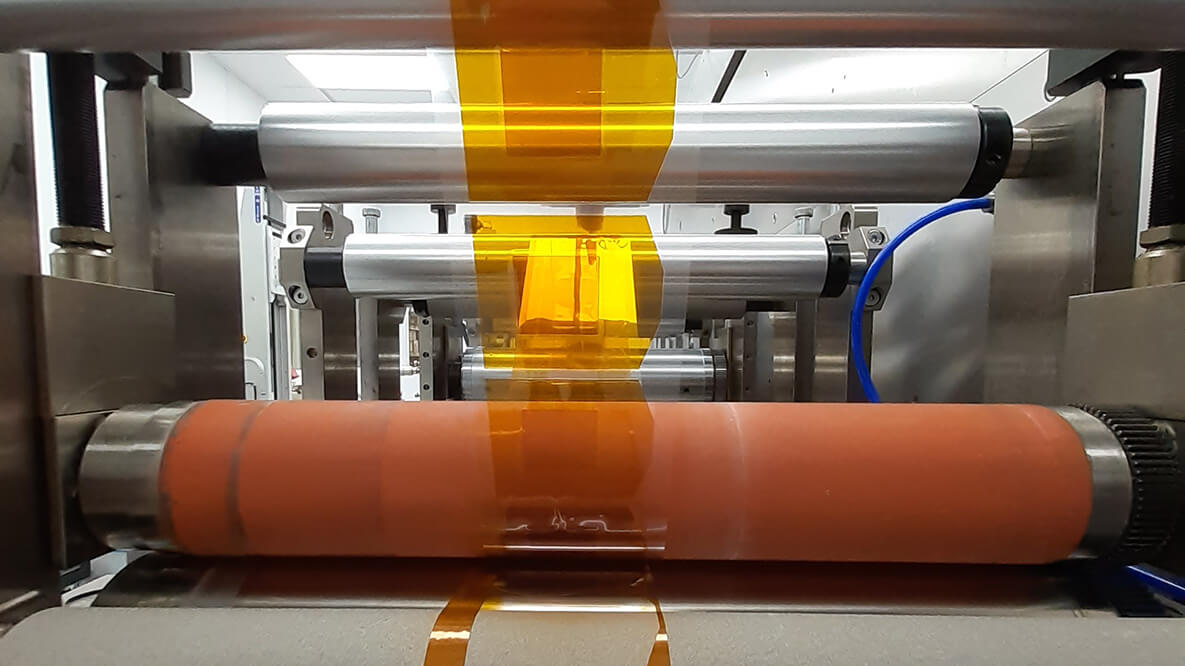
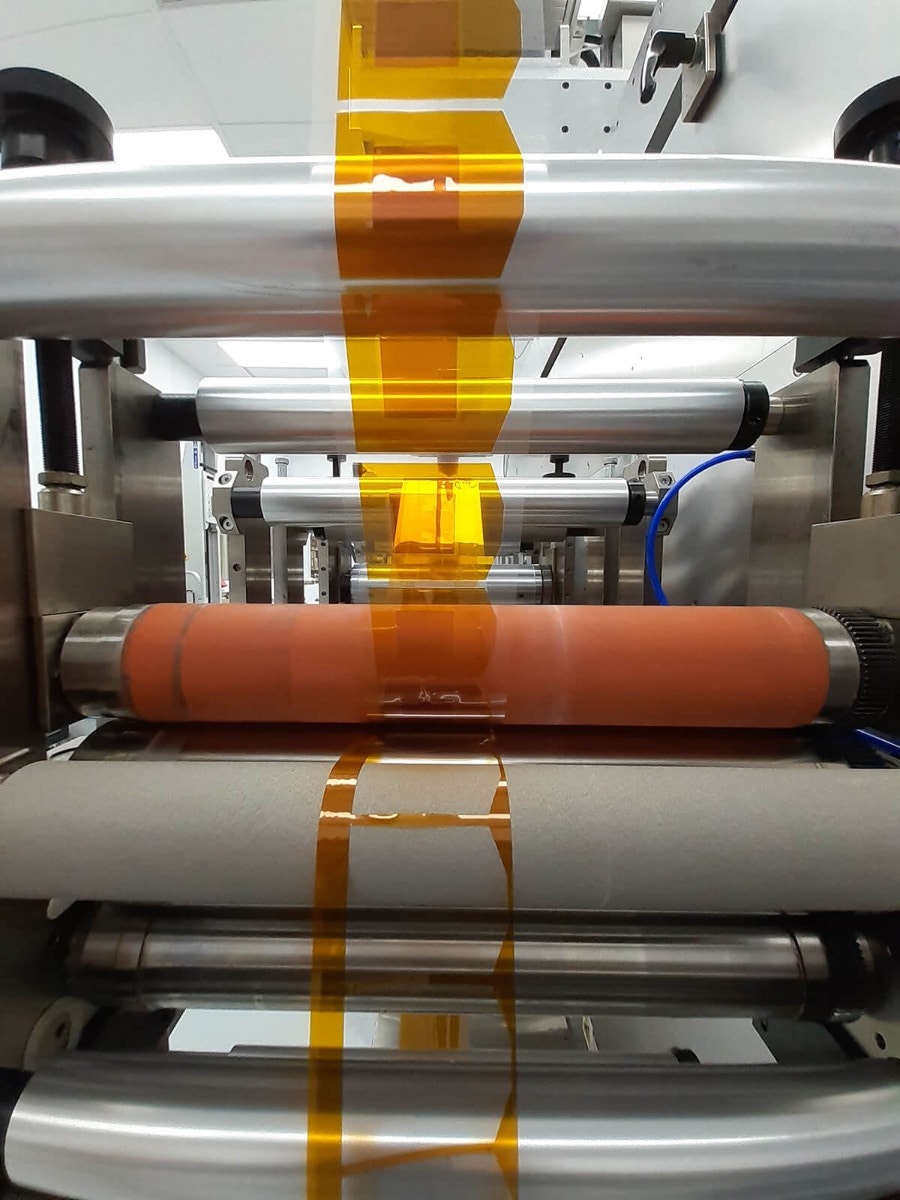
Creating a non-adhesive "island" on a tape die cut might seem simple, but the process is highly complex. CFS recently partnered with a customer to produce a polyimide die cut that required precise non-adhesive zones. This project was completed in our ISO 7 clean room using a Delta ModTech precision rotary press.
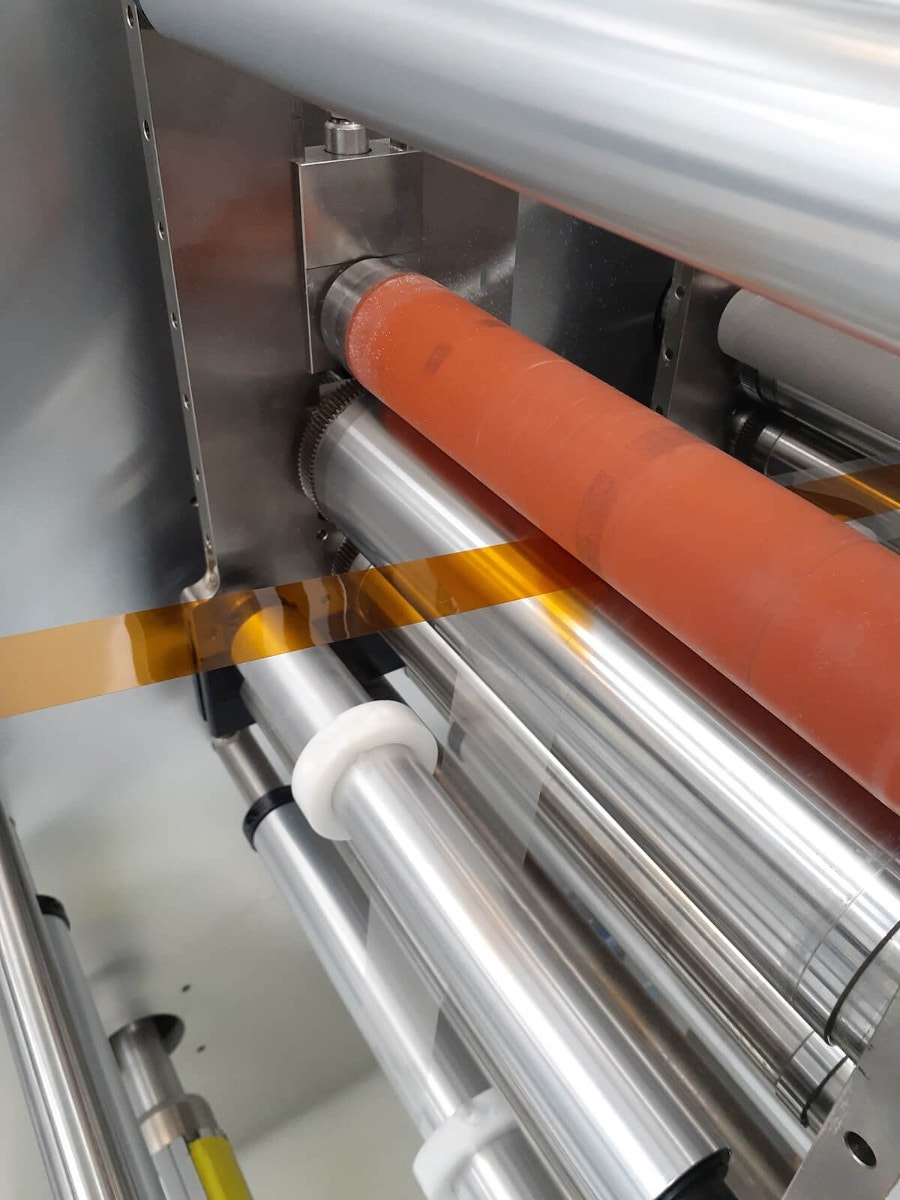
Step 1: The material that will become the “island” is laminated to a temporary liner |
Step 2: The island is die cut and waste removed |
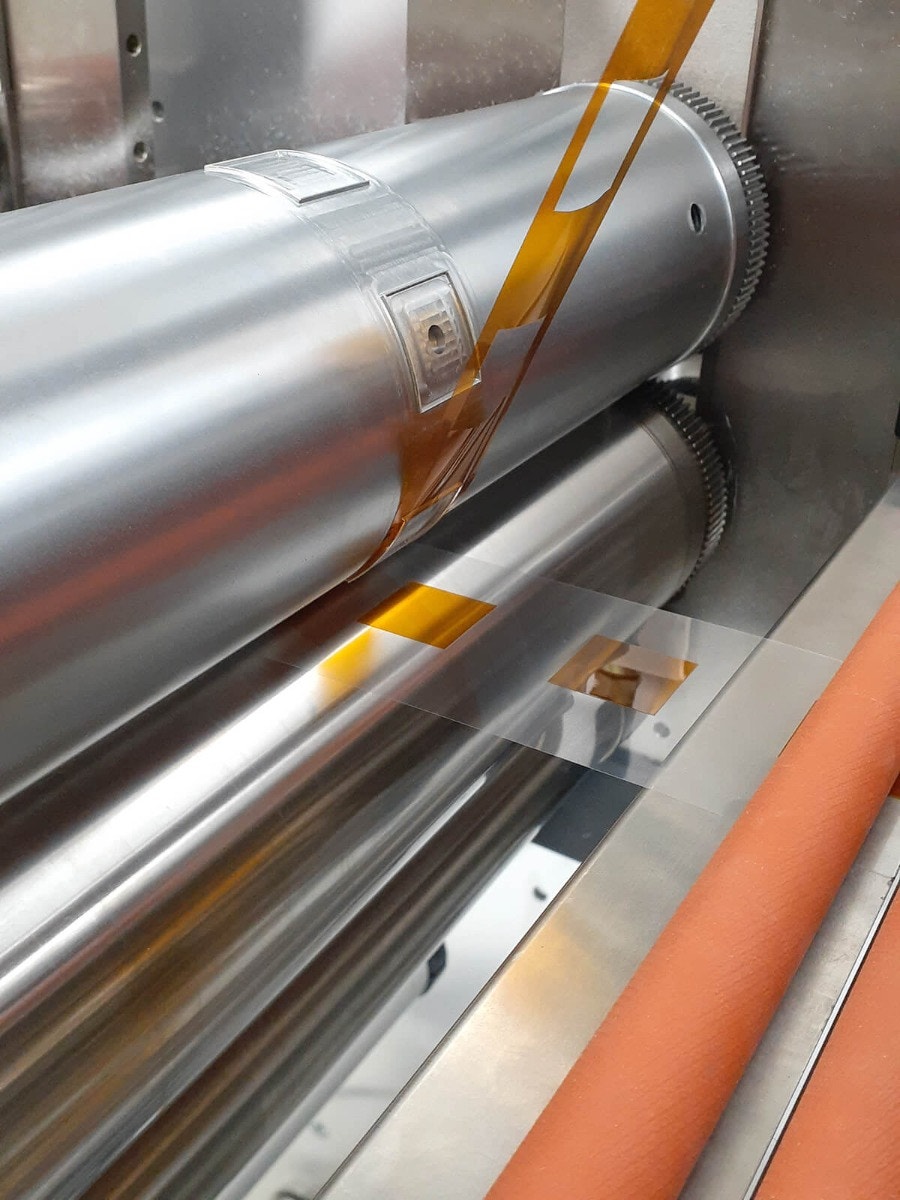
Step 3 and 4: These are performed at virtually the same time with the help of camera driven computer servos. The “island” (adhesive side down) is removed from the clear temporary liner and precisely placed onto the adhesive side of another polyimide tape. By mating the adhesives, a non-adhesive island is created. |
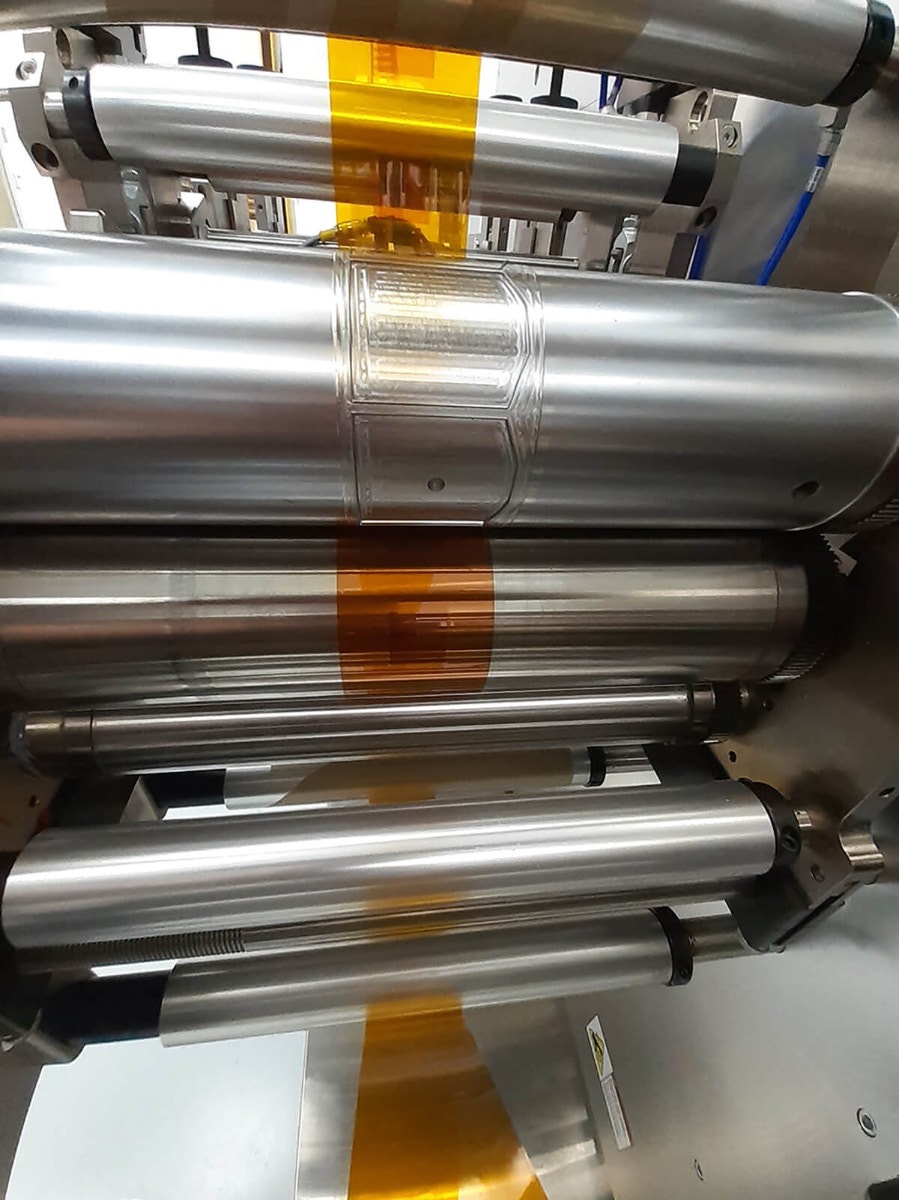
Step 5: Another clear liner is laminated onto the exposed adhesive side of the tape containing the islands. |
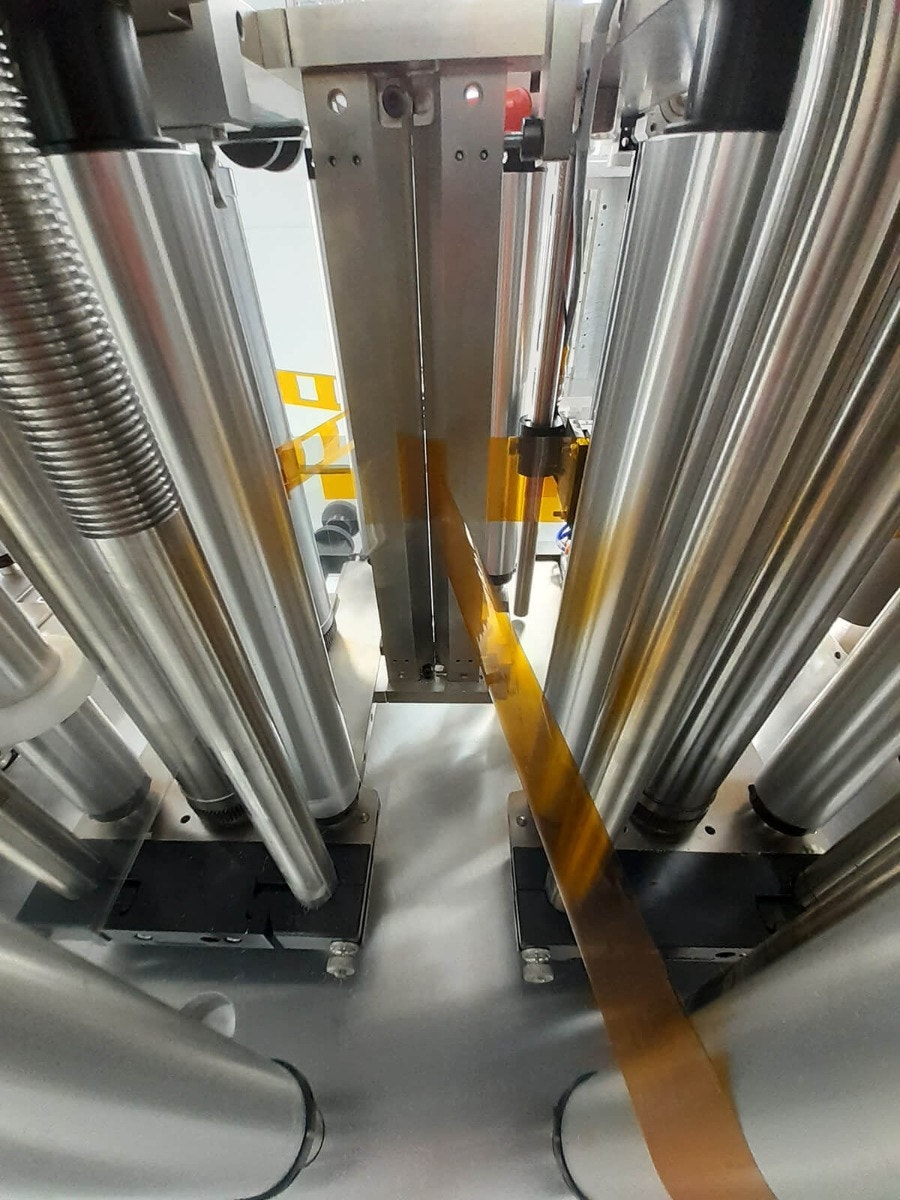
Step 6: The linered tape is then die cut to the final shape and the waste removed |
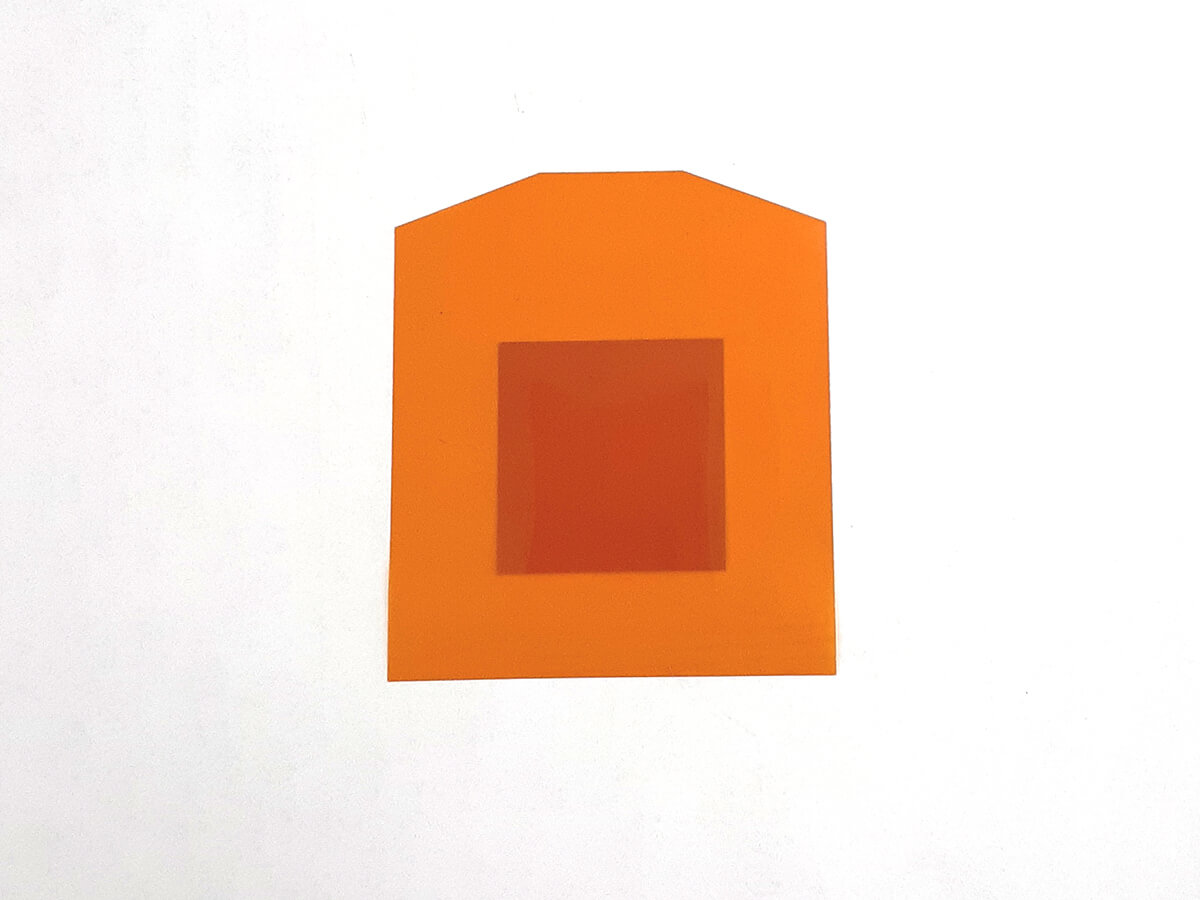
Final product is a polyimide die cut with an island of non-adhesion in the middle |
Custom Fabricating & Supplies is a custom converter of non-metallic materials. With advanced technologies and capabilities, we can consult on the most complex projects. Contact CFS today to discover how we can help!