As a 3M™ Preferred Converter, CFS has the opportunity to work on challenging projects which require extensive knowledge of the intricacies and variables of die cutting VHB and other high-performance foam tapes. The properties of these tapes - which make them desirable for badge and emblem attachment - also make them more challenging to work with than traditional tapes. Our Delta ModTech equipment helps to make these complex projects possible.
Double-sided pressure-sensitive adhesives like film or foam tapes are extremely popular for vehicle emblem design. Contrary to the common perception of tape as a temporary adhesive, double-sided automotive tapes are often durable enough to exceed the useful life of the vehicle, even under harsh weather conditions. Many automakers have turned to viscoelastic adhesives to replace mechanical fasteners, increasing rigidity and strength with less weight and better aesthetics. The “visco” allows the adhesive to flow into the irregular portions of a surface to form a strong bond. The “elastic” gives the tape ability to absorb dynamic loads. It also accommodates expansion between surfaces and distributes the load over the broadest area.
CFS works with manufacturers and 3M technical specialists to select the best adhesive for the project. For example, 3M Acrylic Foam Tape PX5008 is designed for attaching exterior automotive trim to painted surfaces, without the time and expense of bonding agents. It features the same adhesive on both sides of the tape, and can be applied without a primer to LSE and MSE substrates and paint. A 0.80 mm acrylic foam core is designed for robust performance as well as complex contours and irregular surfaces.
CFS converts this tape into custom-specified die cuts - a multi-step process requiring the advanced machine technology in our Delta ModTech presses.
|
Step 2 (not shown): A clear poly liner is laminated to exposed adhesive surface. |
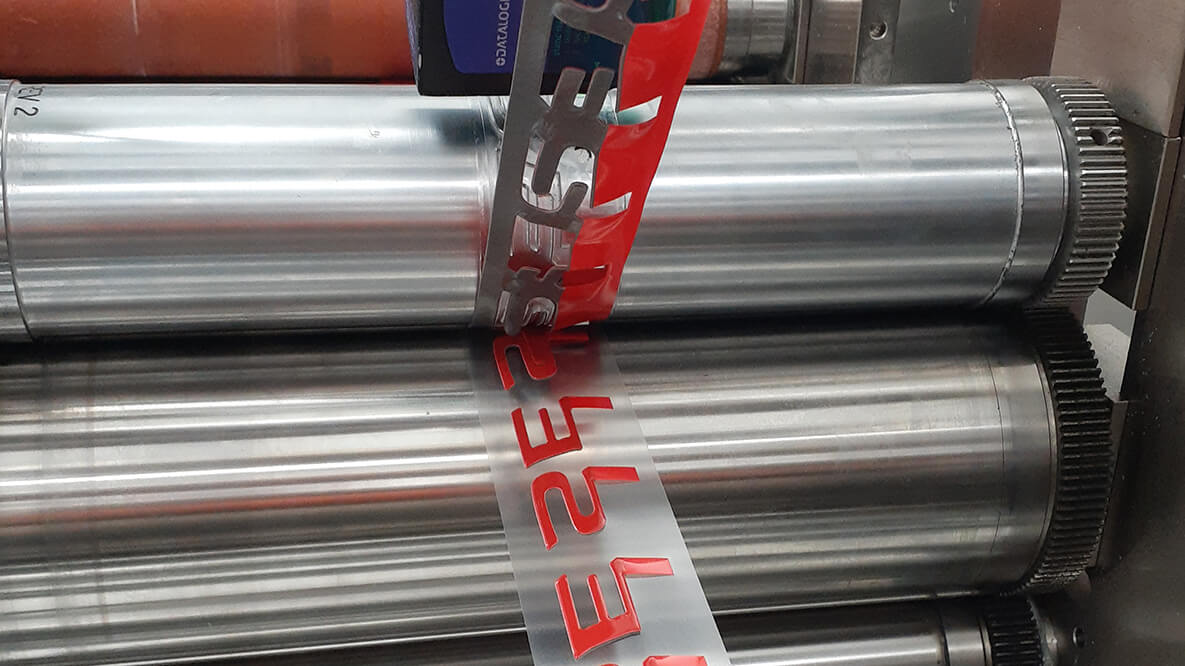
 Step 3: The desired final shape is die cut through the 3M liner and adhesive, leaving the poly liner untouched. Note the camera which provides instant feedback to the computer driven servos, keeping the tape in perfect alignment with die placement. Step 3: The desired final shape is die cut through the 3M liner and adhesive, leaving the poly liner untouched. Note the camera which provides instant feedback to the computer driven servos, keeping the tape in perfect alignment with die placement. |
Step 5 (not shown): Final product is spooled and rewound for packaging. |
 Step 1: Pre-slit rolls of tape are kiss cut to the 3M liner creating a non-adhesive tab that will later be used for placement and easy liner removal.
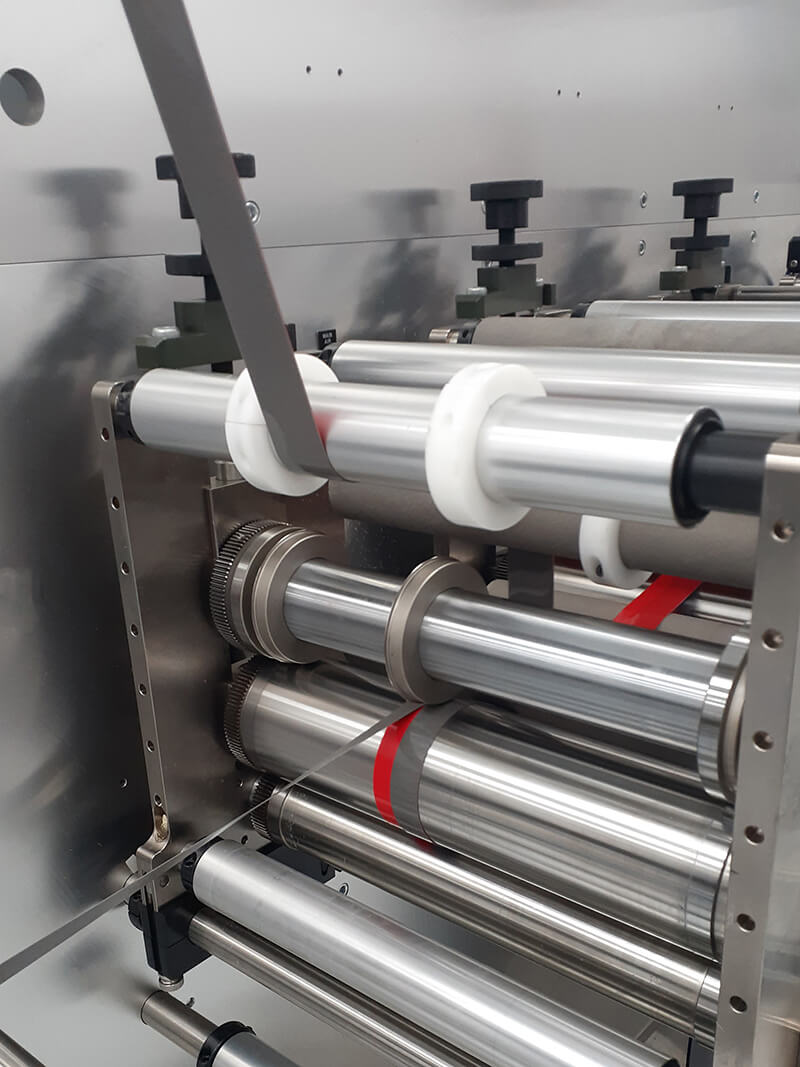
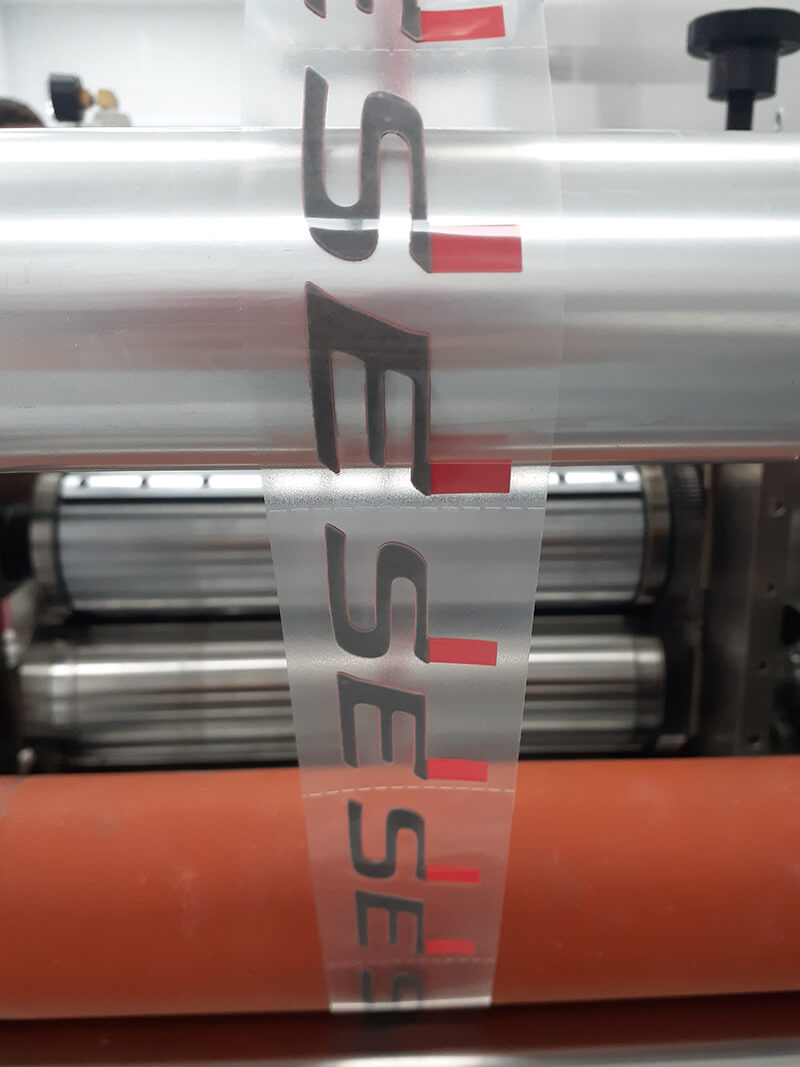 Step 4: Another servo driven motor controls the perforation tool which will allow for each individual die cut to be torn off by the end user.
Are you a manufacturing engineer that needs help with a complex project needing an adhesive solution?
Drop us a note or give us a call – we are here to help!